Composite Decking: Installation Tips
It’s all in the Planning:
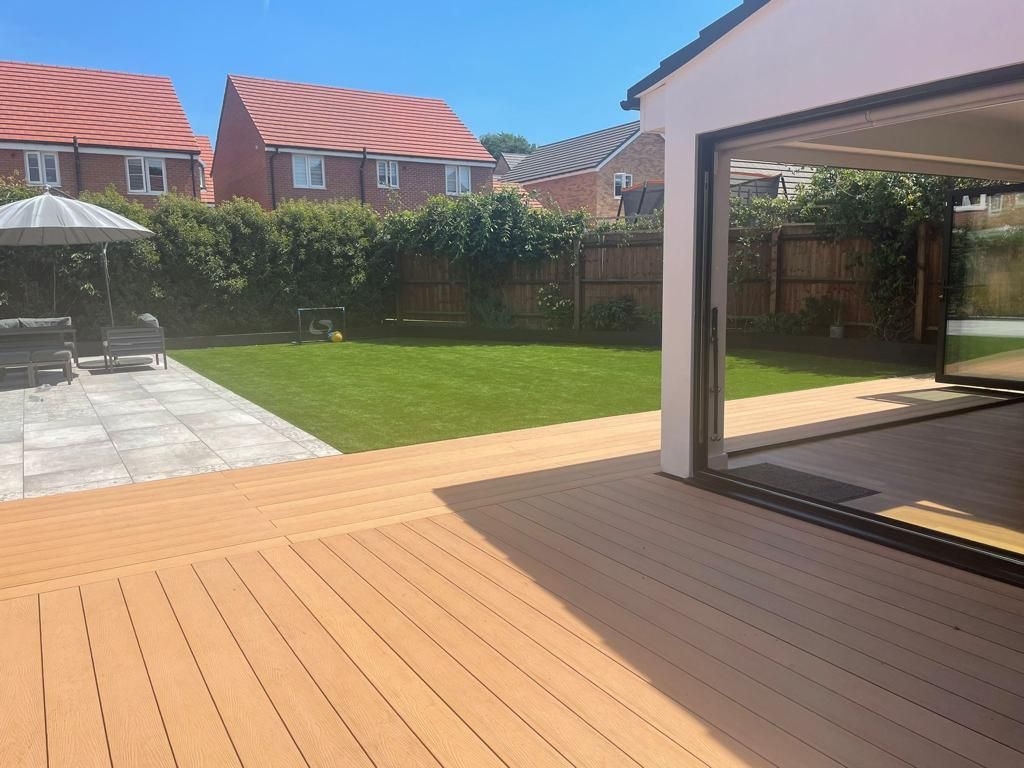
Are you looking to enhance the beauty and functionality of your outdoor space? Composite decking can be a fantastic addition to any home, providing a durable and low-maintenance alternative to traditional wood decking. Whether you're a seasoned DIY enthusiast or a beginner, this step-by-step guide will walk you through the process of installing composite decking and help you create a stunning outdoor retreat.
Step 1: Preparation
Before diving into the installation process, it's crucial to plan your deck thoroughly. Consider the size, shape, and layout of your deck, and take accurate measurements of the area. Gather all the tools and materials you'll need for the installation, including SPP composite decking boards, composite decking fixings, joists, screws, a drill, saw, measuring tape and safety equipment.
Step 2: Clearing and Preparing the Area
Clear the area where your deck will be installed by removing any vegetation, rocks or debris. Joists must be laid on a solid flat surface such as concrete. Grass, uneven paving slaps or sand will cause movement. It's essential to create a solid and even base for your deck.
Step 3: Installing the Joists
The joists will provide the structural support for your deck. Begin by marking the locations where the joists will be placed. Joists must be set to 300mm centres otherwise decking boards may warp or move. Lay your joists 300mm centre to centre, running the opposite way to the direction of the Deck Boards. Make sure to leave a 20mm gap between any walls or fences to allow for expansion.
Pre-drill and screw the Joists to your concrete base. (If using Composite Joists pre-drill & over-drill holes to allow for expansion. Use of expansion screws are recommended).
Fix starter clips along the edge of each joist at the end you wish to start laying boards from. Pre-drill the screw holes & screw in place.

Step 4: Installing the Composite Timber Decking Boards
Push your first board into place, clipping into the starter clips. Clip concealed fixing clips into the first board along each of the joists. Pre-drill and screw in place. The space between board should be 5mm.
When butting two boards together for a longer length, make sure both ends are supported by separate Joists. These must have an expansion gap of 5mm between the boards, otherwise they may warp or crack under pressure.
Push the next board in place. Repeat until your deck is the required length.
Measure out the width of the last board and mark joists ready for starter clips to finish the deck. Pre-drill the holes and screw starter clips in place. Clip your last board into the previous board and push down into place using a rubber mallet if required.
Overhangs: The overhang of decking boards from the joist should not exceed 20mm.
We recommend decking to be laid with a 1:100 slope to allow rainwater run-off.
Step 6: Adding Finishing Touches
Once all the decking boards are installed, it's time to add the finishing touches to your composite deck. Our L trim will finish the edges to create a seamless appearance. You can also add stair treads, composite deck balustrades and other accessories based on your design preferences.
Step 7: Maintenance and Care
One of the significant advantages of composite decking is its low-maintenance nature. However, it's still essential to perform regular maintenance to keep your deck looking its best. Clean your deck periodically using mild soap, water and a soft-bristle brush to remove any dirt or stains. Avoid using abrasive cleaners or pressure washers as they may damage the surface. Additionally, inspect your deck annually for any signs of wear or damage and make any necessary repairs promptly.
Conclusion:
Installing composite decking can be a really rewarding DIY project that adds value and enjoyment to your home. By following this step-by-step guide you'll be well-equipped to create a beautiful and durable outdoor space. Remember to plan carefully, prepare the area adequately and follow the instructions for best results. With a little time and effort you'll soon have a fantastic outdoor space.
If you are thinking of adding composite decking to your garden then please
contact us and our friendly staff will get in touch.